There’s something undeniably satisfying about biting into a sandwich built on freshly baked bread-its warm, tender crumb and crisp crust forming the perfect foundation for every filling imaginable. While store-bought options frequently enough fall short of this ideal, crafting your own homemade bread opens up a world of possibilities, allowing you to tailor texture, flavor, and size to match your sandwich dreams. In this article, we’ll explore the art and science of baking bread at home, guiding you step-by-step toward creating loaves that elevate every bite, turning simple sandwiches into truly memorable meals.
Crafting perfect homemade bread for your ideal sandwiches begins with selecting the finest ingredients that bring out the rich, hearty flavor essential for a truly memorable loaf. Whether you’re aiming for a soft, pillowy crumb or a crusty artisan crust, understanding your components and mastering dough readiness techniques are key to creating bread that elevates every bite.
Prep and Cook Time
- Preparation: 20 minutes
- Proofing: 2 hours (divided into 2 rises)
- Baking: 30-35 minutes
- Total Time: Approximately 3 hours
Yield
1 large sandwich loaf (about 12 slices)
Difficulty Level
Medium - Ideal for home bakers who have some experience with yeast doughs
ingredients
- 3 ½ cups bread flour, sifted
- 1 ¼ cups warm water (110°F / 43°C)
- 2 ¼ tsp active dry yeast (one packet)
- 2 tbsp granulated sugar
- 1 ½ tsp fine sea salt
- 2 tbsp unsalted butter, softened
- 1 tbsp olive oil (for greasing)
Instructions
- Activate the yeast: In a small bowl, combine warm water and sugar, stirring gently until dissolved. Sprinkle the yeast on top and let it sit for 5-7 minutes, until frothy and aromatic.
- Mix the dough: In a large bowl, whisk together bread flour and salt. Make a well in the center and pour in the yeast mixture along with softened butter. Stir with a wooden spoon or dough hook until the dough starts to come together.
- Knead for texture: Transfer dough to a floured surface and knead for 8-10 minutes until smooth and elastic. Alternatively, use a stand mixer fitted with a dough hook on medium speed for about 6-7 minutes. the dough should feel slightly tacky but not sticky.
- First proof: Lightly grease a large bowl with olive oil. Place dough inside, turning once to coat all sides. Cover with a damp kitchen towel or plastic wrap and let rise in a warm, draft-free area for 1 to 1 ½ hours, or until doubled in size.
- Shape the loaf: Gently punch down the dough to release excess air. Flatten into a rectangle and roll tightly into a loaf shape.Pinch the seams to seal.
- Second proof: Place the shaped dough seam-side down into a greased loaf pan. Cover and allow to rise for another 45 minutes to 1 hour until it puffs above the pan edges.
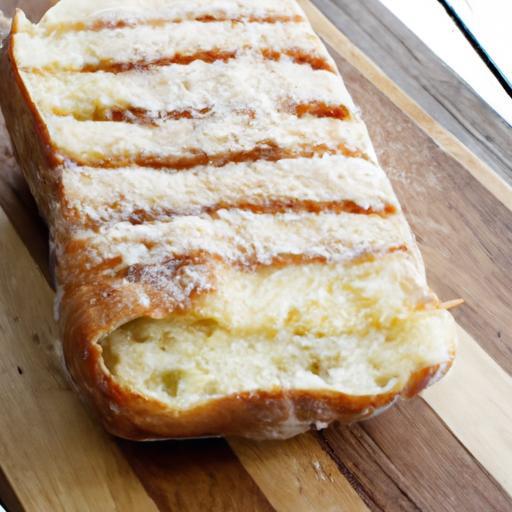
- Bake to perfection: Preheat oven to 375°F (190°C). Optionally, brush the top with milk or egg wash for a golden crust. Bake the loaf for 30-35 minutes, until the crust is deep golden and the loaf sounds hollow when tapped.
- Cool and savor: Remove bread from pan and transfer to a wire rack. Let cool completely before slicing to maintain structure and chew.
Tips for Success
- Use quality bread flour for optimal gluten development; it’s crucial for a chewy yet tender crumb.
- Ensure water temperature is accurate-to hot and you’ll kill the yeast; too cold,and the yeast won’t activate properly.
- Kneading is the secret to developing the dough’s strength. if the dough is too sticky, sprinkle flour gradually-avoid adding too much to prevent a dense loaf.
- Proof in a warm, humid place: A slightly warm oven (turned off) with a bowl of hot water helps encourage rising.
- Customize your bread: Incorporate herbs, seeds, or whole grains to tailor flavor and texture to your preferred sandwich style.
- Make ahead: Dough can be refrigerated overnight after the first rise for a deeper flavor and convenient baking schedule.
Serving Suggestions
Slice your homemade bread thick or thin depending on your sandwich filling. For a classic deli sandwich, toasted slices with a smear of butter elevate flavor and texture. Garnish with fresh herbs like basil or parsley to brighten presentation. Consider pairing with crisp lettuce, ripe tomatoes, and your favorite meats or cheeses for a balanced, satisfying bite.

| Nutrient | Per Slice (Approx.) |
|---|---|
| Calories | 150 |
| Protein | 5g |
| Carbohydrates | 28g |
| Fat | 2g |
For more creative sandwich bread ideas, explore our homemade sourdough recipes. To understand the science behind yeast and gluten development, visit King Arthur Baking’s detailed guide.
Q&A
Q&A: Crafting Perfect Homemade Bread for Your Ideal Sandwiches
Q1: Why should I make homemade bread specifically for sandwiches?
A1: Homemade bread lets you tailor flavor, texture, and size precisely to your sandwich needs. Whether you crave a soft, pillowy base or a crusty, artisan-style loaf, baking at home ensures fresh, preservative-free bread that elevates every bite.
Q2: What type of flour is best for sandwich bread?
A2: All-purpose flour works fine for most sandwich breads,but bread flour-with its higher protein content-yields a chewier,sturdier crumb that holds fillings better. For softer, sweeter bread, combining bread flour with a bit of whole wheat or rye can add depth.
Q3: How crucial is kneading in homemade bread for sandwiches?
A3: Kneading develops gluten, the protein network that gives bread its structure and elasticity. Proper kneading produces a dough that rises well and slices cleanly without crumbling-key for sandwich stability and that satisfying texture.
Q4: Should I use yeast or sourdough starter?
A4: both work beautifully, but yeast is faster and more predictable for busy bakers. Sourdough adds tangy complexity and a chewy texture but requires more time and care. Choose based on your flavor preferences and schedule.
Q5: What’s the secret to a loaf that holds up to juicy or saucy sandwich fillings?
A5: A slightly dense crumb with a sturdy crust helps prevent sogginess. Incorporating fats like butter or olive oil and a touch of sugar can soften the crumb, while a longer bake time thickens the crust for resilience.
Q6: Can I customize the bread to suit specific sandwich types?
A6: Absolutely! For delicate sandwiches, lighter breads like brioche or milk bread work wonderfully. For robust fillings like pastrami or grilled veggies, a rustic sourdough or rye adds flavor and structure.
Q7: How do I keep sandwich bread fresh after baking?
A7: Cool the bread completely, then store it in a breathable bag or bread box at room temperature for up to 3 days. For longer storage, slice and freeze it in airtight bags; toast slices straight from the freezer when ready to use.
Q8: Any creative twists to try when making sandwich bread at home?
A8: Infuse your dough with herbs, cheese, or roasted garlic. Experiment with different grains, seeds, or even a swirl of pesto or sun-dried tomato paste for visually striking and flavorful loaves that make every sandwich special.Q9: What mistakes should I avoid when baking sandwich bread?
A9: Avoid under-kneading, which leads to crumbly bread, and over-proofing, which can cause collapse or overly airy texture. Also, skipping the steam during the initial bake may result in a dull crust.
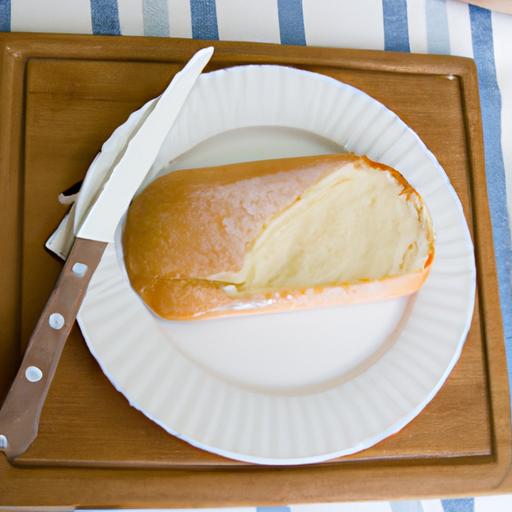
Q10: How do I slice homemade bread perfectly for sandwiches?
A10: Use a sharp serrated knife and saw gently back and forth rather than pressing down. Cool bread completely to avoid squashing the loaf. For consistent slices, consider using a bread slicer guide.
With these insights,your journey to crafting the perfect homemade bread for your ideal sandwiches will be both enjoyable and deliciously rewarding!
To Wrap It Up
Baking your own bread is more than just a culinary task-it’s a rewarding journey that transforms simple ingredients into the foundation of your ideal sandwich. With each loaf you craft, you gain not only a deeper gratitude for the art of breadmaking but also the freedom to tailor flavors, textures, and shapes to your liking. So, whether you prefer a crusty baguette or a soft, pillowy sandwich bun, the perfect homemade bread awaits, ready to elevate every bite into a delicious experience. Happy baking-and even happier sandwich making!